Table of Contents
Introduction
Why Revit QA/QC? Engineers understand that accuracy isn’t just helpful—it’s essential. One small modeling error can ripple into major project delays, budget overruns, and frustrated stakeholders. That’s why Revit QA/QC isn’t just an option. It’s a critical process that ensures your model holds up through design, coordination, and construction.
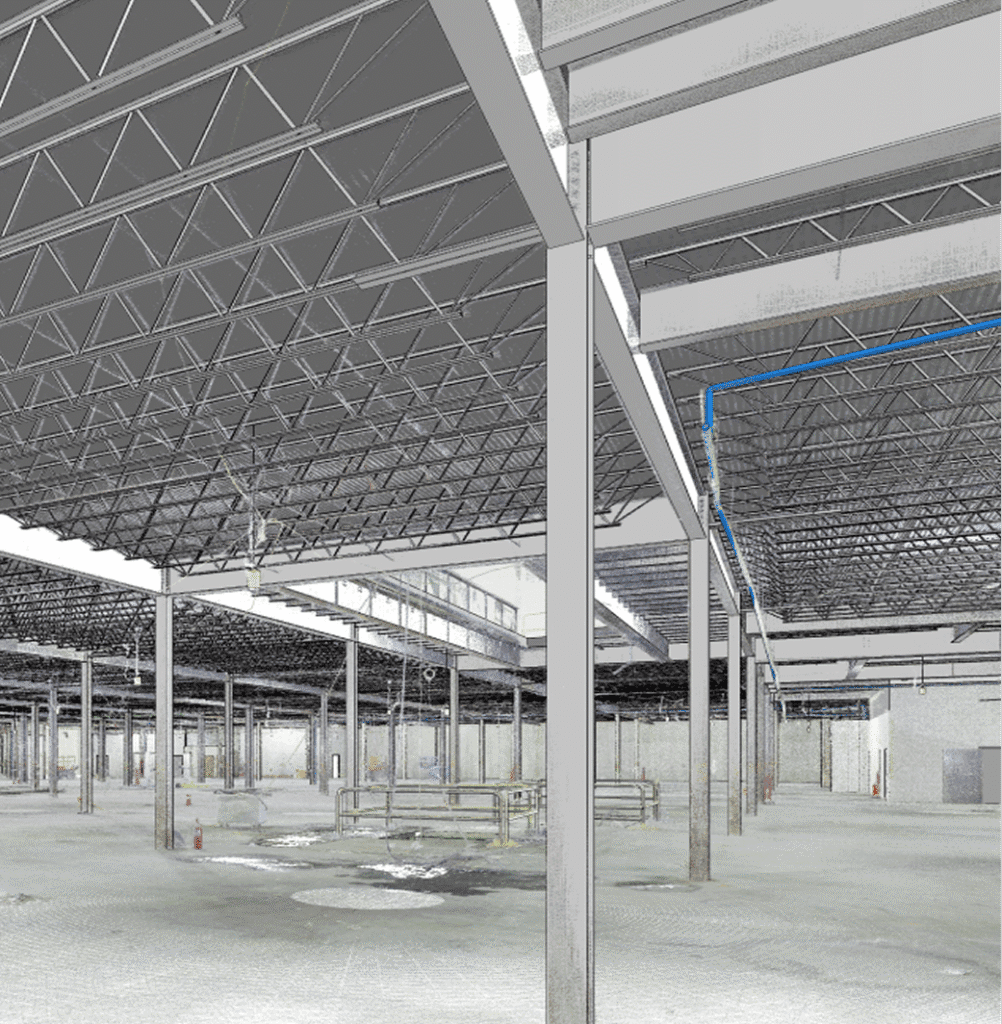
At OAR, we specialize in turning laser scans into highly accurate Revit models—but we go a step further by applying a disciplined QA/QC process that ensures those models are usable, interoperable, and error-free.
In this guide, we break down the eight most important QA/QC practices that help engineers build clean, coordinated Revit models with confidence.
1. Set Clear Modeling Standards
Disorganized modeling leads to confusion, missed details, and coordination headaches. That’s why every project should start with a well-defined set of modeling standards.
Create clear naming conventions, define levels of development (LOD), and standardize how Revit families are created. Document these standards in a centralized QA/QC guide that’s easy for your team to reference.
Why it works: Consistency leads to fewer surprises across disciplines and easier coordination in the field.
2. Use Revit’s Built-In QA Tools
Revit has powerful tools for identifying issues early. Use the Interference Check to catch collisions across linked models. Review the Warnings List to flag duplicated or unhosted elements. Leverage schedules and filters to check data consistency at scale.
Make these checks a routine part of your QA process—not just a one-time cleanup.
Why it works: Detecting problems early avoids time-consuming rework during later project phases.
3. Build and Follow a QA/QC Checklist
A good checklist is the backbone of any quality control system. Yours should include checks for:
- Model setup and organization
- View and sheet consistency
- Dimensional accuracy and alignments
- Parameter consistency across categories
- Drawing clarity and documentation standards
A structured checklist keeps your team aligned and ensures nothing slips through the cracks.
Why it works: Promotes discipline, accountability, and confidence in final deliverables.
4. Peer Review Models at Key Milestones
No one catches every issue in their own work. That’s why peer reviews are so effective. Build these into your process at 50% and 90% submission stages—or whenever you’re preparing deliverables for external use.
Encourage feedback loops and cross-discipline participation to catch coordination gaps.
Why it works: Improves accuracy, strengthens teamwork, and reduces the risk of rework.
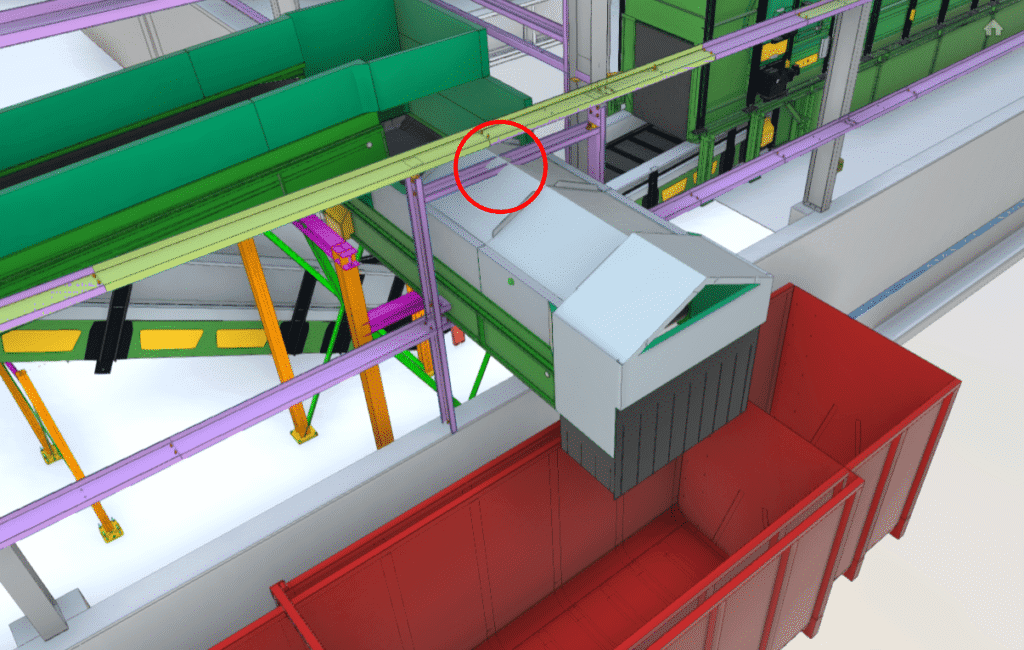
5. Use Third-Party Tools to Go Deeper
Revit tools are a good starting point, but engineers who need deeper model validation or coordination should explore platforms like:
- Solibri Model Checker: For rule-based validation and classification
- Ideate BIMLink: For exporting model data to Excel and auditing parameters
- Navisworks: For clash detection and 4D scheduling
These tools help bridge the gap between design and construction.
Why it works: Extends your QA capabilities and ensures your model can perform across platforms.
6. Automate Repetitive QA Tasks
Manual reviews can be tedious and inconsistent. Automation helps catch issues faster and more reliably. Use Dynamo scripts to check for missing parameters, naming issues, or misplaced elements. Set up scheduled clash detection or batch audits for ongoing model health.
Why it works: Frees up engineers for higher-value tasks while reducing human error.
7. Control Versions and Keep Records
In a fast-paced project, model changes can multiply quickly. That’s why version control is essential. Use clear, date-stamped file naming and archive models regularly. Keep logs of changes, approvals, and coordination notes.
Why it works: Helps teams stay aligned, simplifies audits, and builds client trust.
8. Train Your Team and Share the Standards
A strong QA system only works if everyone follows it. Provide training workshops, create quick-reference guides, and assign QA leads to support complex reviews. Make sure new team members can get up to speed quickly.
Why it works: Promotes consistency, reduces onboarding friction, and maintains high model quality over time.
Conclusion: Build With Confidence
Revit QA/QC isn’t just about checking boxes. It’s about delivering models that are truly buildable. At OAR, we combine precise modeling with systematic QA to ensure your models meet the demands of real-world construction and facilities.
From initial scans to Revit modeling and final QA, we make sure every deliverable is ready for what’s next. Let’s talk about raising the quality of your next model.
FAQs
What’s the difference between QA and QC?
QA focuses on setting standards and systems. QC verifies model output against those standards.
When should we perform QA checks?
At every major milestone—after model setup, mid-design, and before any external submission.
Do I need third-party tools?
They’re not required but are strongly recommended for advanced coordination and auditing.